Most of my spare time for the last month or so has gone to an Android pet project, which partially explains the lack of activity around here. However, such project gave me a little idea for a short tutorial flavoured article.
Level design, practically a synonym of iteration
Everybody knows how essential iteration is for games development. Ideas tend to look awesome on paper, yet most of them perform poorly when implemented. Throwing away whole features and reworking others surely isn't new territory for you. Level designers probably know this better than anyone. Creating a greybox level and making hundreds of changes until it flows nicely and artist can know for sure where everything is going to be.
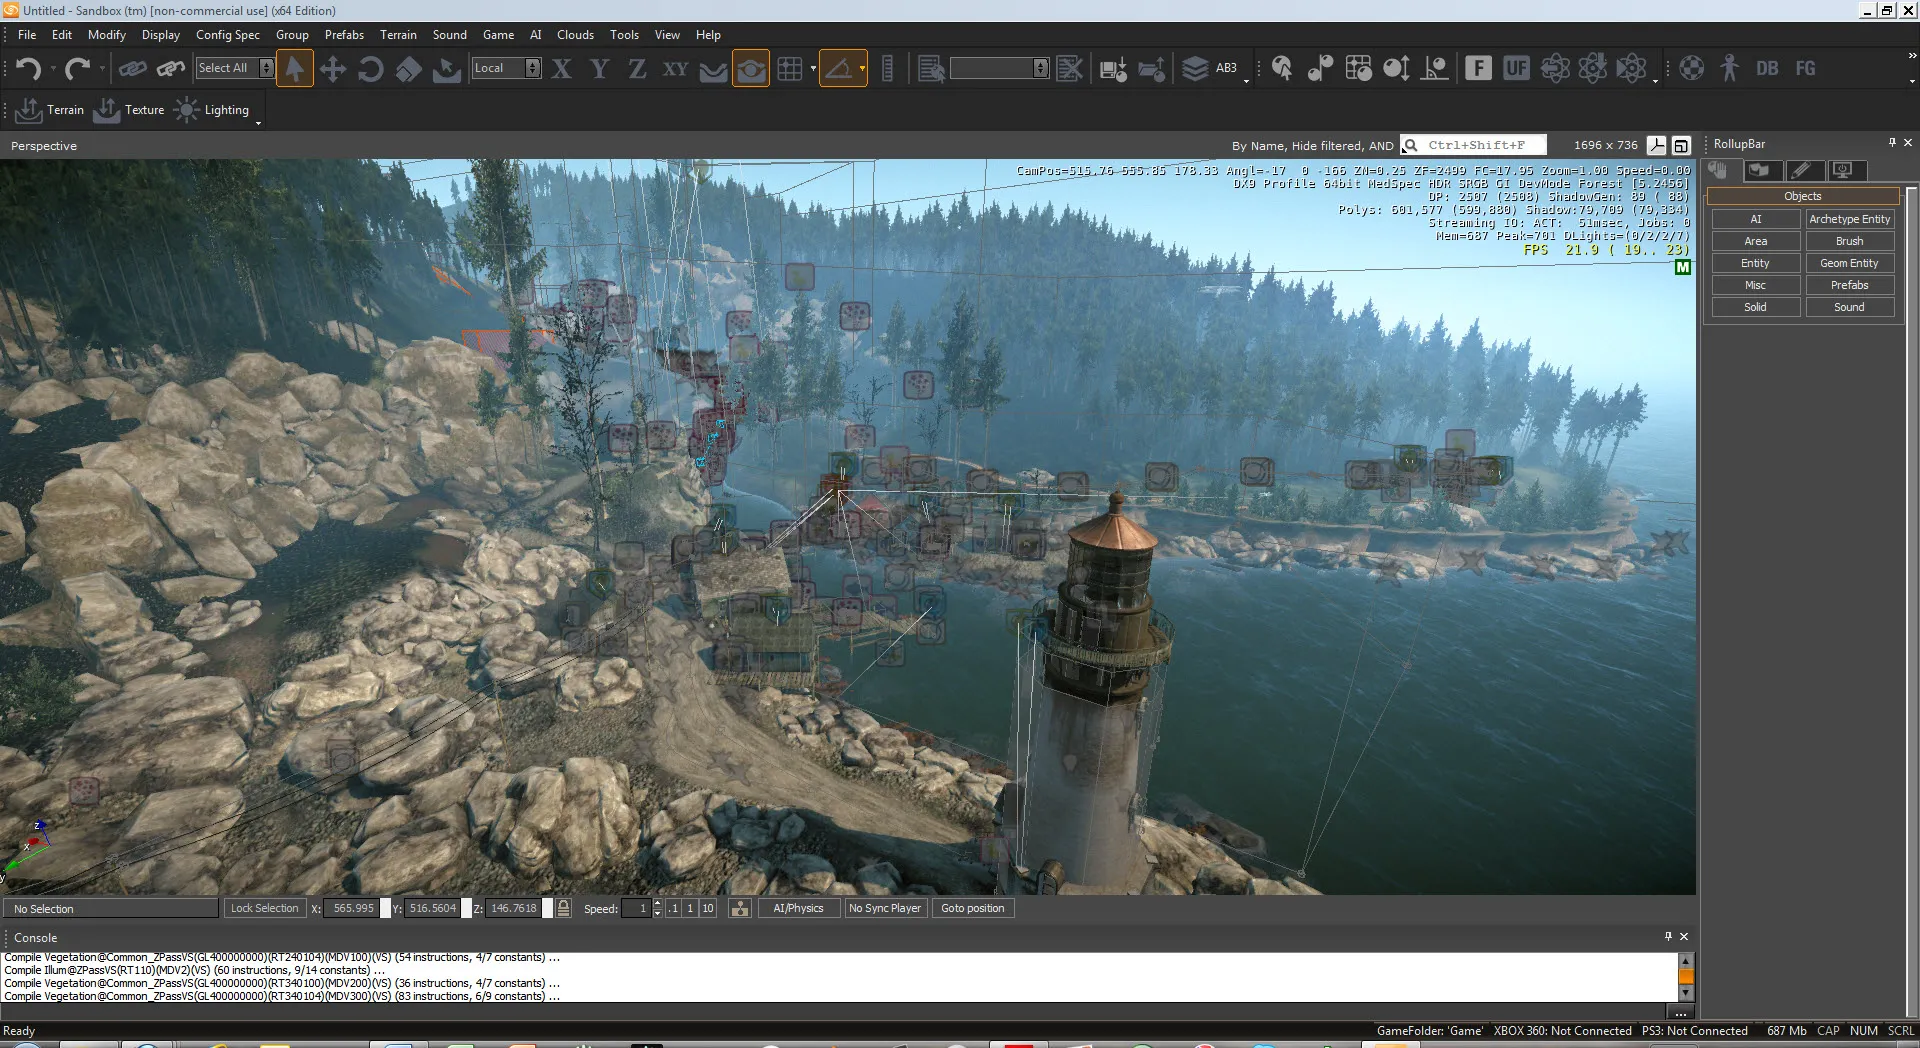
Tools like CryEngine SandBox allow lightning fast iteration by letting the creator jump into game straight from the editor to test setups. The change something and test it cycle flows incredibly nicely and no time is wasted with annoying loading screens.

Iteration can be cumbersome
Nevertheless, I"m using libgdx (check out the new website) along Tiled to make this pet project and things are different under this environment. Normally, one would go through the following process:
- Create a level with Tiled.
- Add it to the list of levels in the game. This could involve changed in an XML file or, much worse, fiddling with the source code.
- Launch the game and navigate the menus until you find the newly created level.
- Finally test it.
- "Oh, I need to move this obstacle a bit to the left".
- Back to 1, not before wishing to be stabbed in the face.
You might think this is acceptable if a single iteration takes less than half a minute.
Wrong!
You"ll be doing this a ridiculous number of times, so you better do yourself a favor and try shorten the process.
Tiled command tool at your service
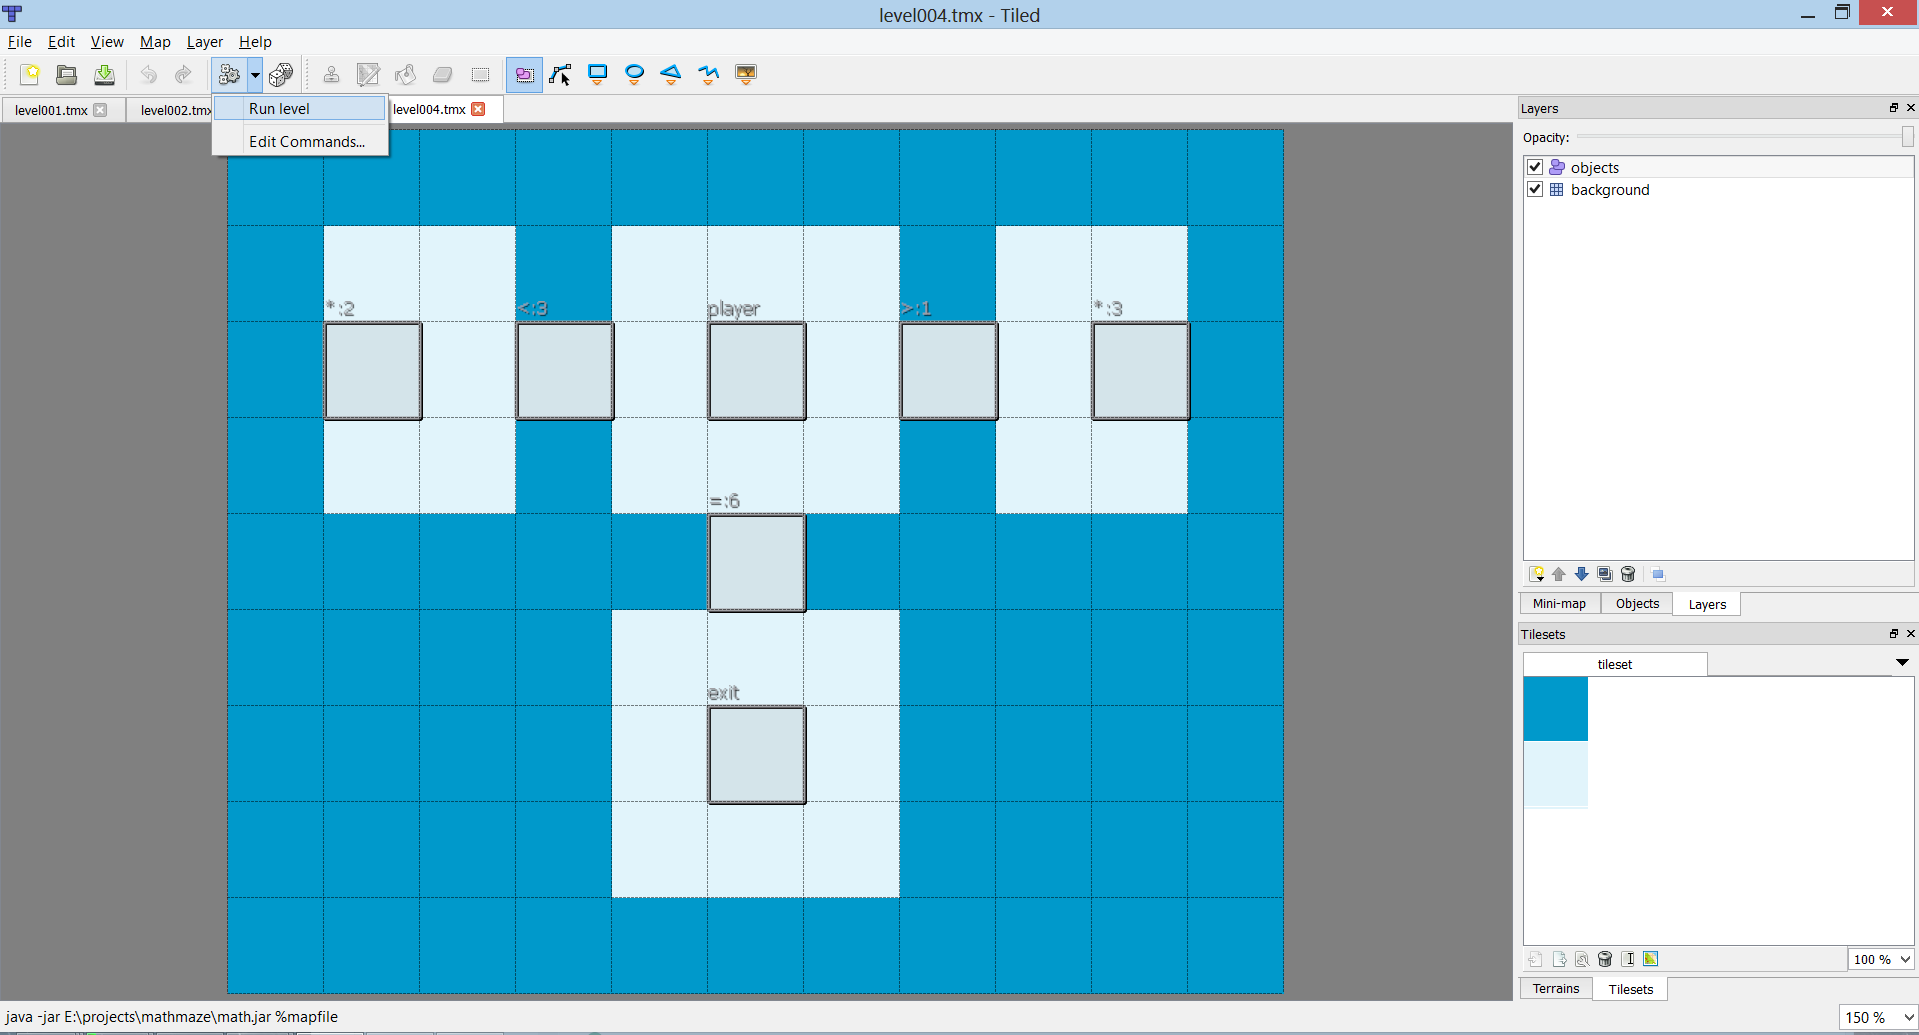
Luckily enough, we can use Tiled to execute any command passing the map file we"re currently editing as a parameter from its main UI panel, it's almost as good as what CryEngine does. It only requires a little effort on our side, as the game needs to accept command line parameters and interpret them, we"ll get to that later.
First, click on the gears icon in Tiled and then select Edit Commands. Create a new one and name it Run level for instance. The command will be executed from the Tiled folder, Program Files in my case. That's why I"m using absolute paths to reach my game's executable.
java -jar E:projectsmathmazemath.jar %mapfile
The %mapfile string is replaced by the absolute path to our level when the command is executed.
Now it's time to make the game accept an absolute path as a parameter and load a specific level when that happens, without going through all the menus. In my case I did something similar to this.
public class Main {
	public static void main(String[] args) {
		String level =  args.length > 0 ? args[0] : "";
		new LwjglApplication(new MyGame(level), new LwjglApplicationConfiguration());
	}
}
Then, in MyGame create method.
if (!mapFile.empty() {
	Level level = new Level(mapFile);
	gameScreen.setLevel(level);
	gameScreen.setDebug(true);
	setScreen(gameScreen);
}
else {
	setScreen(splashScreen);
}
Within GameScreen I had to detect whether we were in debug mode and, if so, think of the level as an absolute path.
if (isDebug()) {
	mapLoader = new TmxMapLoader(new AbsoluteFileHandleResolver());
}
else {
	mapLoader = new TmxMapLoader();
}

TiledMap map = mapLoader.load(getLevel());
I noticed that libgdx doesn't include an absolute path file handle resolver, so I created it. Otherwise, it"d think the file path is of the relative kind.
public class AbsoluteFileHandleResolver implements FileHandleResolver {
	@Override
	public FileHandle resolve(String fileName) {
		return Gdx.files.absolute(fileName);
	}
}
The last step was to export the game as a runnable jar to make it accessible from Tiled. After this, we can now finally run our level directly just by clicking on the gears icon. It requires some initial investment but I can assure you it pays off.
Easy as pie and fast!